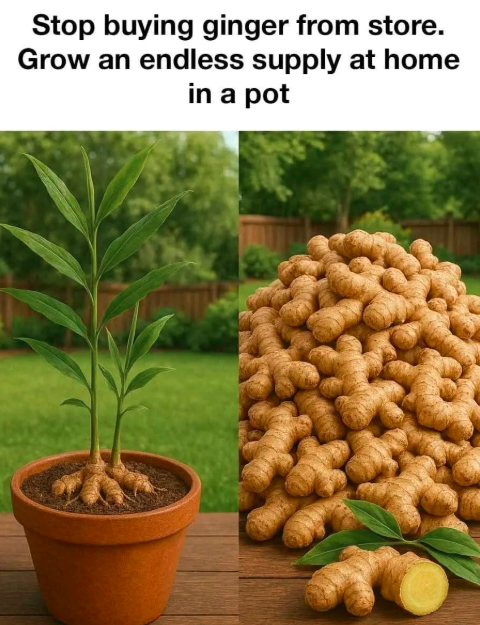
Oh yes—this is one of the most satisfying “kitchen hacks” ever! Fresh ginger at the store can be expensive and goes bad fast, but growing it at home is surprisingly easy. Here’s how to have an endless supply in a pot:
🌱 How to Grow Ginger at Home
1. Choose Your Ginger
- Buy fresh ginger root with visible “eyes” or growth buds.
- Organic is best—non-organic may be treated to prevent sprouting.
2. Prep the Ginger
- Cut into pieces 2–3 inches long, each with at least one eye.
- Let the cut pieces air-dry for a day or two to reduce rot.
3. Pick the Right Pot & Soil
- Use a wide, shallow pot (ginger grows horizontally more than vertically).
- Soil should be loose, rich, and well-draining (mix potting soil + compost).
- Make sure your pot has drainage holes.
4. Planting
- Lay the ginger pieces with buds facing up.
- Cover with 1–2 inches of soil.
- Water lightly.
5. Provide Ideal Conditions
- Ginger likes warmth and humidity, not direct sun.
- Place near a bright, indirect light source.
- Keep soil moist but not soggy.
6. Growth & Harvesting
- Sprouts appear in 2–4 weeks.
- Leaves will grow tall and lush.
- You can harvest small pieces after 3–4 months, or wait 8–10 months for full rhizomes.
- To harvest, gently lift a portion of the root—leave the rest to keep growing.
7. Bonus Tips
- You can replant leftover pieces to start a new crop endlessly.
- Indoor ginger will thrive year-round with consistent warmth and moisture.
- Harvesting gradually ensures continuous production.
If you want, I can also give a trick to speed up sprouting so you can start cooking with your homegrown ginger in just a few weeks—it’s a little kitchen magic. Do you want me to share that?